Building a Bushcraft Shelter in Your Suburban Backyard
Bushcraft Shelter’s built in your backyard makes for an experienced bushcrafter. Practice makes perfect. This guide aims to inspire and equip you with the knowledge to start your bushcraft adventure right in your backyard. Embrace the challenge, enjoy the process, and revel in the satisfaction of building something with your own hands.
Key Takeaways:
- Adaptability: Bushcraft shelters can be adapted to various suburban settings, utilizing both natural and man-made elements available in your backyard.
- Skill Development: Building these shelters is an excellent way to develop practical skills, such as knot-tying, woodworking, and creative problem-solving.
- Family Bonding: Engaging in shelter-building projects can be a fantastic way for families to bond and teach children valuable life skills in an enjoyable and hands-on manner.
Table of Contents
- Introduction to Bushcraft Shelters
- Tools for Making Bushcraft and Survival Shelters
- Making Use of Your Surroundings
- Types of Bushcraft and Survival Shelters
- Building Techniques for Suburban Bushcraft Shelters
- Top 10 Frequently Asked Questions
Introduction to Bushcraft Shelters
Bushcraft shelters are more than just survival structures; they are a testament to human ingenuity and a connection to nature. Building these shelters in a suburban backyard brings the essence of wilderness survival into our everyday living spaces. This fusion of the natural and suburban environments creates a unique learning and recreational experience for individuals and families alike. By adapting traditional bushcraft techniques to a backyard setting, we open up a world of creative, fun, and educational opportunities.
Tools for Making Bushcraft and Survival Shelters
Constructing a bushcraft shelter requires a set of basic tools. These include:
- Axe: A crucial tool for cutting and shaping wood. An axe can speed up the process of preparing the structure of your shelter.
- Knife: Essential for finer cutting tasks and can be vital in emergencies.
- Auger: Useful for drilling holes in wood, especially for more complex shelter structures.
- Paracord: This versatile rope is essential for securing parts of your shelter.
- Folding Saw: Ideal for accurate cutting, especially when you need to shape materials precisely.
- Awl: Handy for making small holes in soft materials, like wood or cloth.
- Tarp: A tarp can form the foundation of many shelter types, offering waterproofing and wind protection.
Each of these tools has its specific use in the shelter building process, which can vary depending on the complexity and style of the shelter being constructed. In a suburban backyard, these tools not only help in constructing a safe and sturdy shelter but also ensure that the process is efficient and enjoyable.
Making Use of Your Surroundings
Creating a bushcraft shelter in your backyard requires a good understanding of your immediate environment. Unlike wilderness settings, suburban backyards offer a unique blend of natural and man-made elements that can be utilized creatively.
- Assess the Space: Consider the size of your backyard and identify potential spots for your shelter. Look for natural elements like trees, which can be integral to certain shelter types.
- Safety First: Ensure that the chosen spot is safe, away from any potential hazards like overhanging branches or too close to fences.
- Leverage Landscape Features: Utilize existing landscape features like rocks, garden beds, or slopes to enhance your shelter.
- Minimal Environmental Impact: Aim to leave no trace. Use materials that won’t harm your garden or local wildlife, and avoid damaging live plants.
By thoughtfully considering these aspects, you can create a bushcraft shelter that is both practical and harmonious with your suburban setting.
Considering Your Needs Your shelter should cater to your specific needs, which can vary based on several factors:
- Duration of Use: Are you planning a single night’s adventure or a longer-term setup?
- Number of Occupants: Will the shelter house an individual, a couple, or a small family?
- Weather Conditions: Account for typical weather patterns in your area – do you need a shelter that provides warmth, or is it more about shade and relaxation?
- Purpose of the Shelter: Is it purely for fun and learning, or are you aiming to simulate a real survival scenario?
Your shelter’s design and construction should align with these considerations to ensure it fulfills your intended purpose.
Types of Bushcraft Shelters and Survival Shelters
Building a bushcraft shelter in a suburban backyard can be an exciting project. Here are some popular types of shelters, each with its unique characteristics:
- Tarp Shelter: Quick and easy to set up, a tarp shelter is great for short-term use. It offers basic protection from the elements and can be configured in various ways depending on the space available in your backyard.
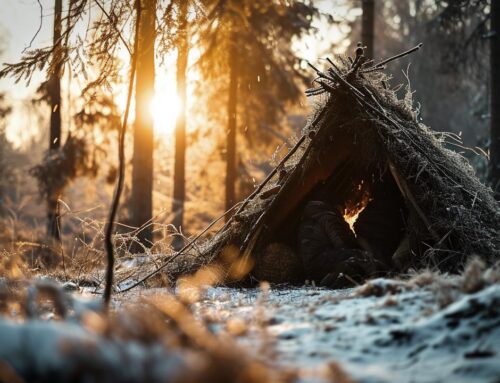
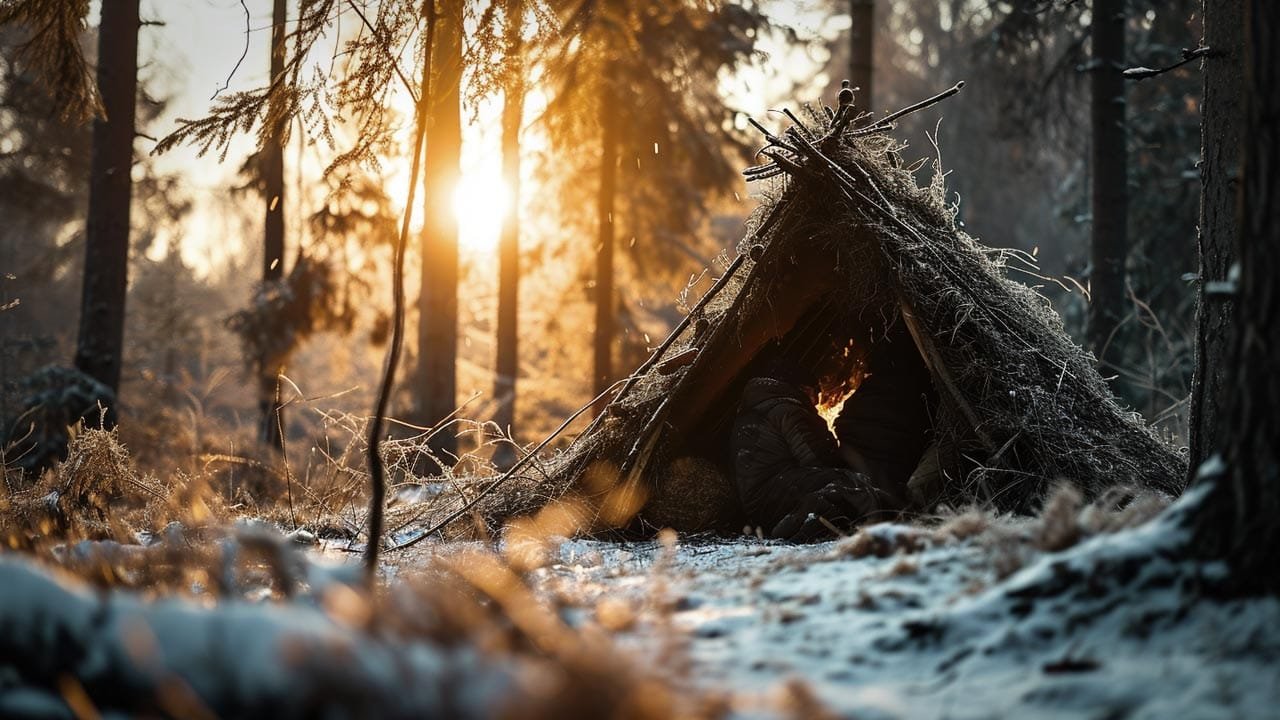
- Teepee: Constructed using longer branches and a tarp or natural coverings, the teepee can be a fun family project. It offers more room inside and can be a delightful centerpiece in your backyard.
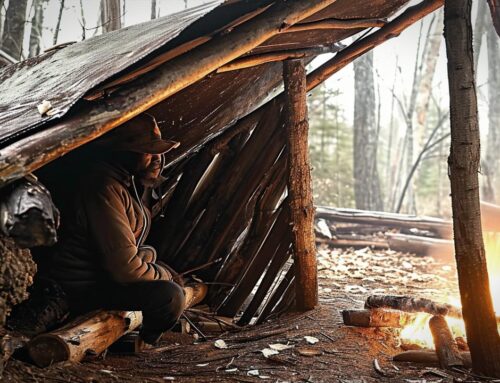
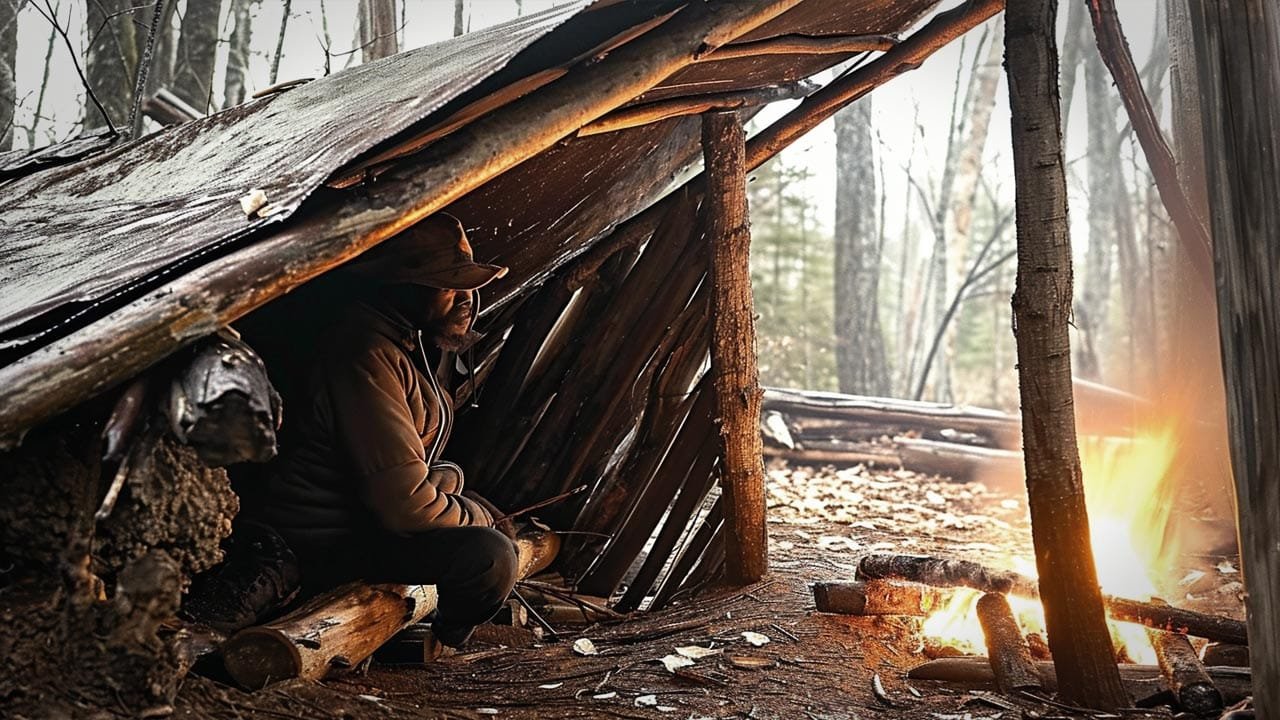
- Lean-to: This basic structure is perfect for beginners. It can be built against a backyard fence or between two trees. Its simplicity makes it a great starting point for bushcraft novices.
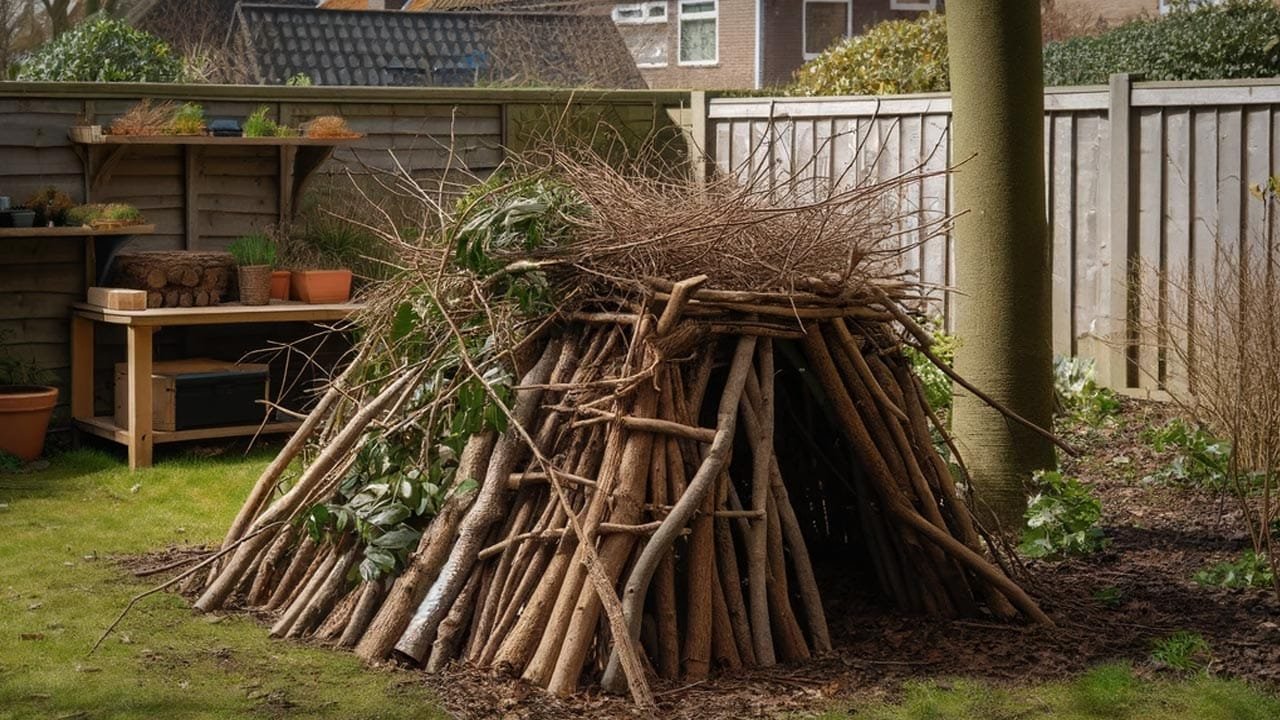
- Debris Hut: More involved to construct, a debris hut is made using sticks for the frame and leaves, grass, or other yard debris for insulation. This type of shelter is excellent for learning about insulation and basic construction techniques.
- A-Frame Shelter: A bit more complex, the A-frame offers better protection from the elements. It requires more materials and time to build but is a rewarding project for those looking to enhance their bushcraft skills.
- Tarp Tent: Similar to a tarp shelter but designed more like a tent, offering better protection and privacy. Ideal for backyards with limited natural materials.
- Natural Shelter: Utilizing existing structures like a large tree, rock formations, or even a garden shed, you can create a shelter with minimal effort. This type of shelter encourages creativity and resourcefulness.
Each shelter type has its advantages and can be chosen based on the intended use, available space, and materials. Experimenting with different types can also be a fun way to learn and practice various bushcraft skills.
Building Techniques for Suburban Bushcraft Shelters
- Constructing a Tarp Shelter:
- Find two points, like trees or posts, to secure your tarp.
- Tie a rope between the anchor points and drape the tarp over it.
- Secure the edges of the tarp to the ground using stakes or heavy objects.
- This shelter is ideal for quick setups and can be easily adapted for different backyard sizes.
- Teepee Assembly:
- Select a central pole or find a tall, sturdy tree as the main support.
- Arrange longer branches around the central pole to form a cone shape.
- Cover the frame with a tarp, or for a more traditional approach, use branches and leaves.
- The teepee is great for larger backyards and can be a fun, family-friendly project.
- Building a Lean-To:
- Choose a solid wall or fence, or use two trees as the backbone of your shelter.
- Lean branches at an angle against the wall or horizontal support between trees.
- Cover the frame with a tarp or foliage for insulation and protection.
- This shelter is suitable for small spaces and provides basic protection from the elements.
- Creating a Debris Hut:
- Construct a frame using two shorter sticks and one long stick.
- Place the long stick on top of the short sticks and lean smaller branches against it.
- Cover the structure with leaves, grass, and other yard debris for insulation.
- This shelter offers a more immersive bushcraft experience and is ideal for learning insulation techniques.
- Setting Up an A-Frame Shelter:
- Find or create a sturdy ridgepole and set it up horizontally at waist height.
- Lean sticks along both sides of the ridgepole to form an “A” shape.
- Cover the frame with a tarp or natural materials for weather protection.
- This type of shelter is great for a challenging project that provides good protection and heat retention.
- Utilizing Natural Structures:
- Identify natural or existing structures in your backyard, like a large tree or a shed.
- Enhance these structures with additional materials like tarps or branches to create a shelter.
- This method is excellent for conserving energy and materials while still providing a functional shelter.
Each shelter type offers a different level of protection, complexity, and fun. They can be chosen based on personal preferences, the available space in your backyard, and the materials at hand. Remember, the primary goal is to enjoy the process of building and learning bushcraft skills.


Leave A Comment