
Waterproofing a Wilderness Shelter: Step-by-Step Guide
Waterproofing a Wilderness Shelter, for myself and every other adventurer we know that in the wilderness, your shelter is more than just a roof over your head—it’s a fortress against the elements and wild animals, a psychological haven, and sometimes, a lifesaver. Building and waterproofing a wilderness shelter properly can mean the difference between a soggy, miserable night and a secure, dry rest. Let’s dive into how we can achieve the latter.
Key Takeaways
- Crucial Protection: A well-constructed and waterproofed wilderness shelter is vital for protection against harsh weather and ensures safety and comfort in outdoor survival situations.
- Strategic Location: Selecting the right location for your wilderness shelter, considering safety, resource availability, and natural protection, is crucial for its effectiveness.
- Adaptability and Skills: Being adaptable and resourceful in using available natural materials is key to building and waterproofing a shelter that suits various environmental conditions.
Table of Contents
- The Basics of Shelter Building
- Choosing the Right Location for Your Shelter
- Types of Wilderness Shelters
- Materials Needed for Building a Wilderness Shelter
- Step-by-Step Guide to Building a Basic Wilderness Shelter
- Top 10 Frequently Asked Questions
- Conclusion
The Basics of Shelter Building
When venturing into the great outdoors, constructing a shelter should always be a priority. A well-made shelter provides critical protection against harsh weather, keeping you warm, dry, and safe from wildlife. But remember, it’s not just about having a roof above your head; it’s about creating a reliable refuge.
Choosing the Right Location for Your Shelter
The success of your wilderness shelter starts with its location. Safety is paramount: avoid hazards like loose rocks or dead branches. Consider proximity to resources like water and firewood, but be cautious not to set up too close to water sources, as this may invite unwanted wildlife visits or flood risks. Seek natural protection from wind and rain, such as under tree canopies or against rock formations. A flat, stable area is ideal for structural integrity.
For more in-depth tips on building a warm survival shelter, check out this resource.
Types of Wilderness Shelters
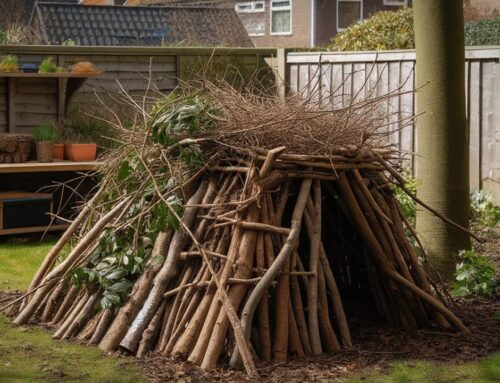
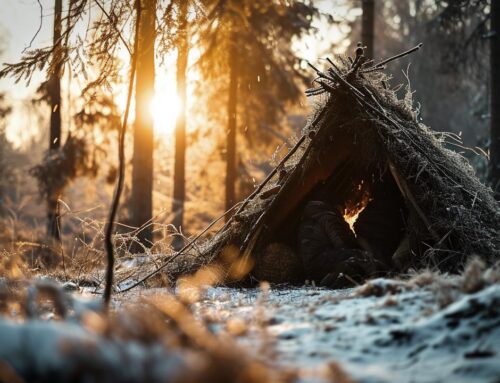
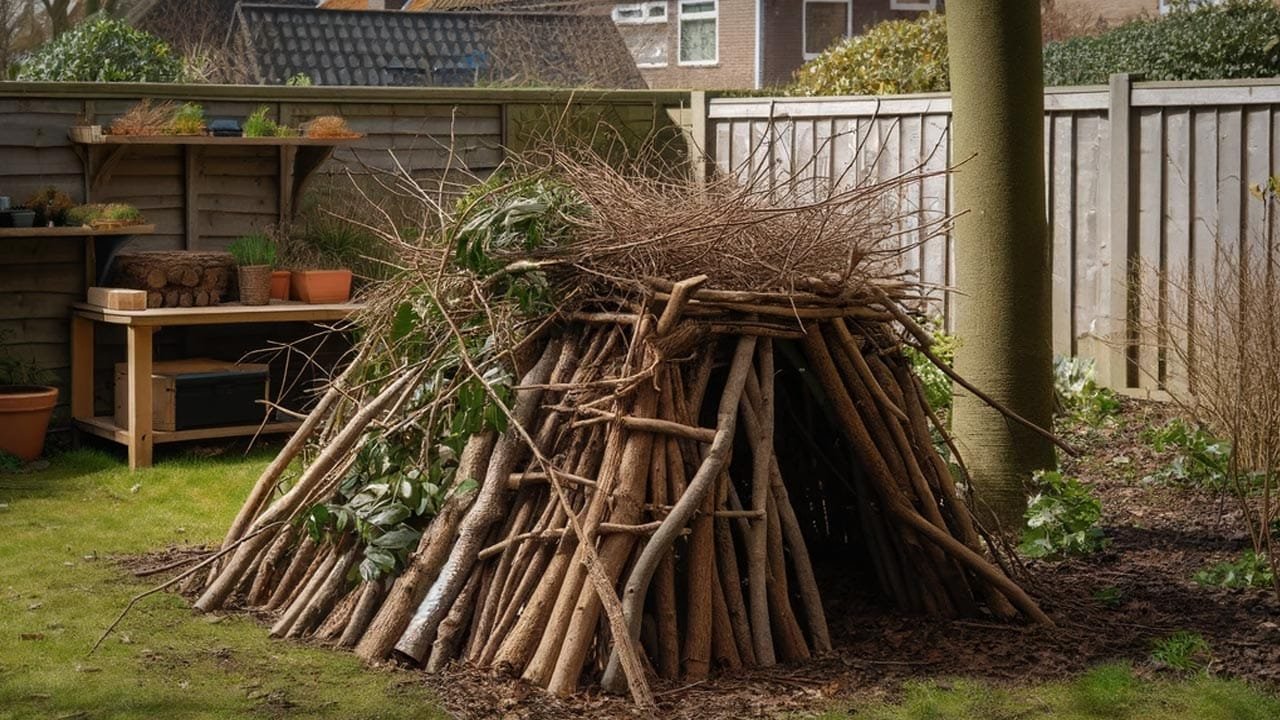
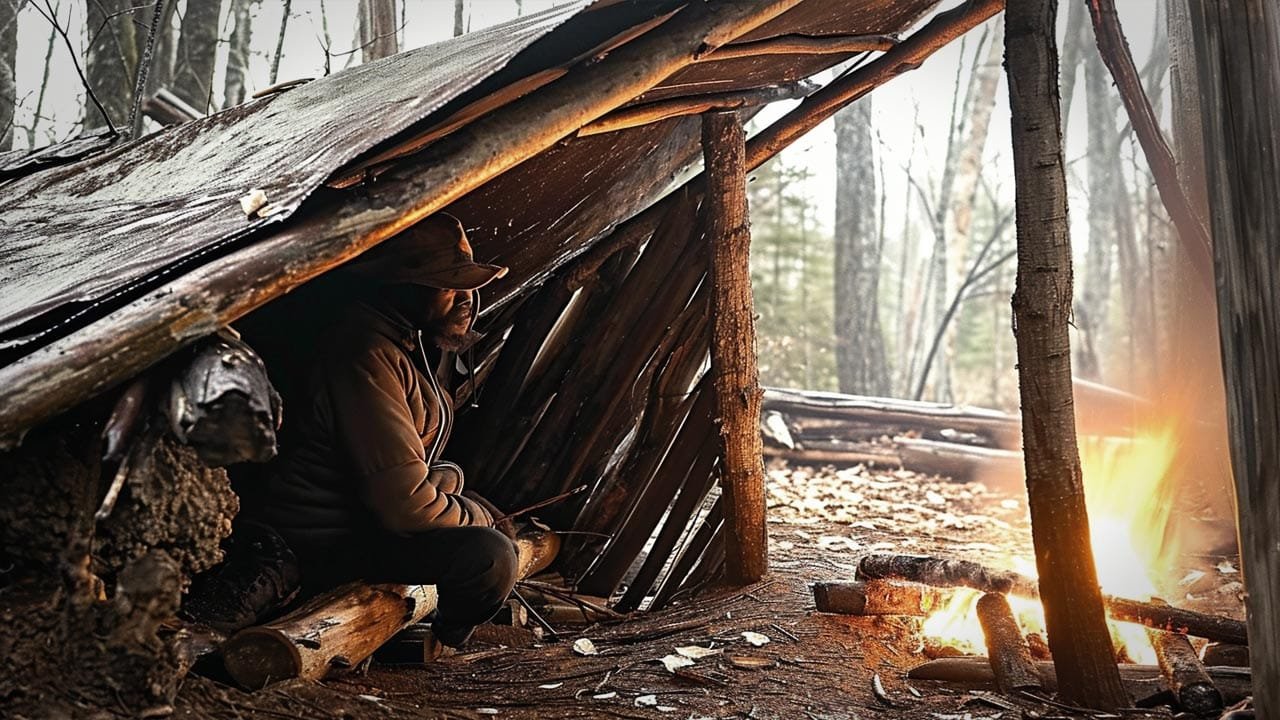
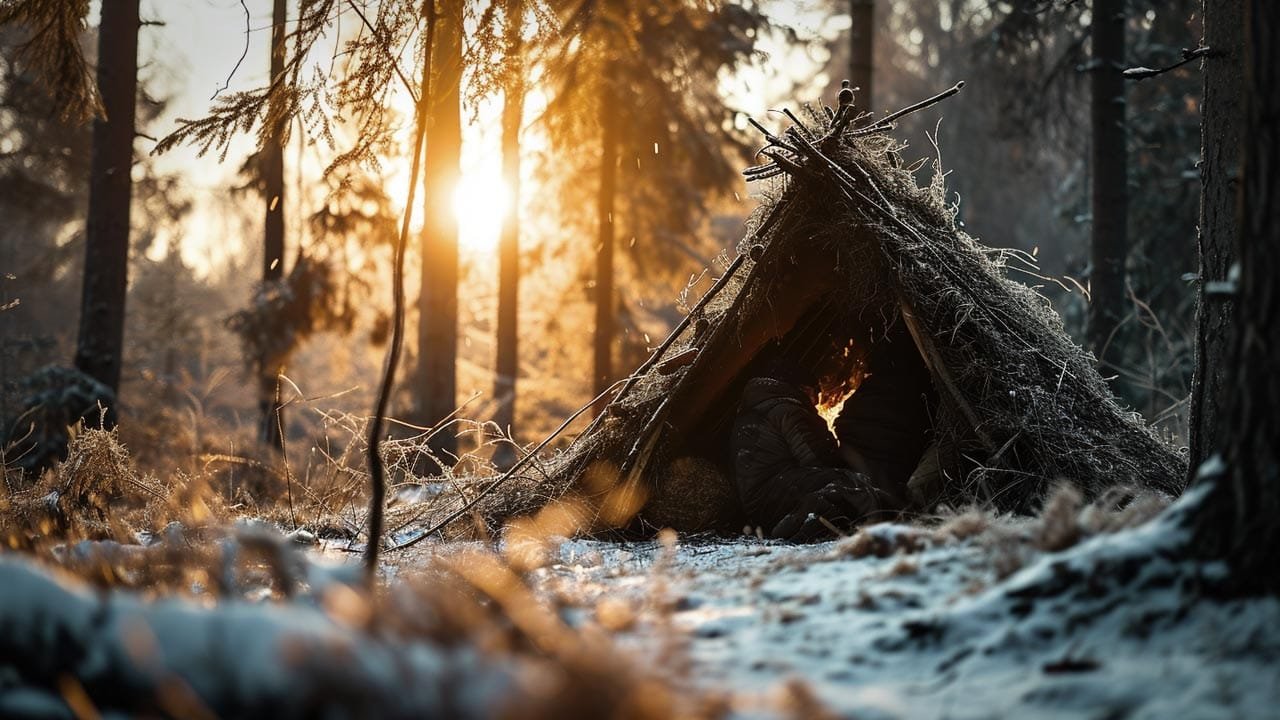
Your shelter type depends on available resources and environmental conditions. The lean-to is quick to build, offering moderate protection. The A-frame provides more extensive coverage, suitable for harsher conditions. For extreme cold, the debris hut acts like an insulated cocoon, utilizing your body heat effectively. It’s all about adapting to your situation.
Materials Needed for Building a Wilderness Shelter
Building a sturdy and effective wilderness shelter requires a mix of natural materials, which you can find in your surroundings, and essential survival tools that you should ideally bring with you. Here’s a more detailed breakdown of what you’ll need:
Natural Materials:
- Branches: The backbone of your shelter’s structure. Look for strong, straight branches to form the frame. They need to be robust enough to support the weight of other materials you’ll add for insulation and protection.
- Leaves and Grass: These are your go-to materials for roofing and insulation. Large leaves work well for shedding water, while grass, especially when layered thickly, provides excellent insulation against cold and moisture.
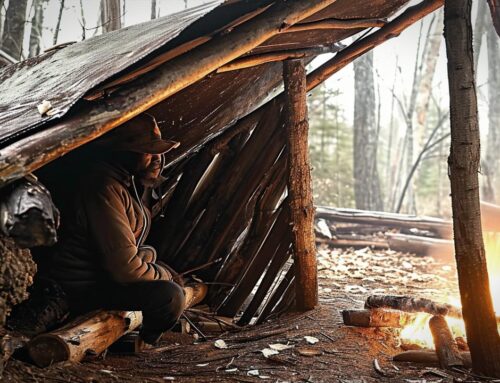
- Bark: If you can find large pieces of bark, they are an excellent resource. Bark can serve as a natural roofing material, effective in repelling water. It can also be used to create a hard, flat surface inside your shelter for added comfort.
- Stones: While not a primary material for shelter building, stones can be extremely useful. They can help anchor your structure, especially in windy conditions, and are essential for building a fire pit safely.
Survival Tools:
- Knife: A good survival knife is indispensable. You’ll use it for cutting and shaping branches, carving stakes, and potentially other tasks like preparing food or cutting rope.
- Rope or Cord: Vital for securing the structure of your shelter. Rope can be used to tie branches together and secure your insulation materials. If you don’t have rope, look for alternatives like vines or long strips of bark.
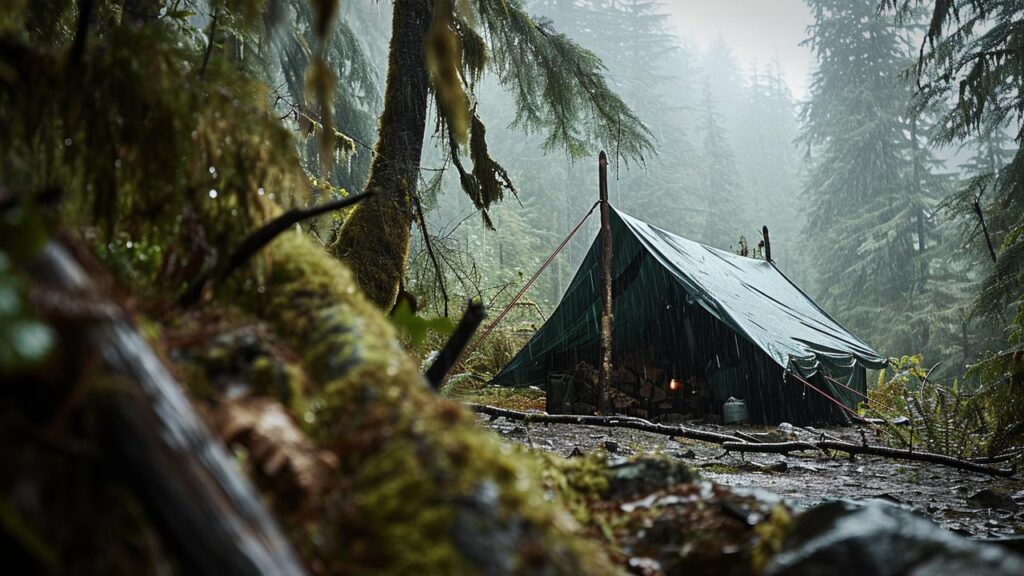
- Tarp: A tarp is a quick solution for waterproofing. It can serve as an emergency shelter on its own or as an additional layer for a more natural shelter. Tarps are lightweight, easy to carry, and highly effective against rain.
- Multitool: A multitool can be handy for various tasks, such as sawing small branches, tightening screws, or even digging small trenches around your shelter for drainage.
Combining Materials and Tools:
When building your shelter, the key is to combine these materials and tools effectively. Use your knife and multitool to shape and prepare the natural materials. Assemble the frame with sturdy branches, secure it with rope, and then layer leaves, grass, and bark for insulation and waterproofing. If available, use a tarp as an additional waterproof layer.
Remember, the effectiveness of your shelter largely depends on how well you can utilize these materials. Your creativity, ingenuity, and survival skills play a crucial role in constructing a safe, comfortable, and waterproof wilderness shelter.
Step-by-Step Guide to Building a Basic Wilderness Shelter
Building a basic wilderness shelter doesn’t have to be complicated. Here’s a detailed, step-by-step guide to help you create a lean-to shelter, one of the simplest yet effective types of wilderness shelters.
Step 1: Choose Your Location
Selecting the right spot is the first critical step. You need a safe, flat area that’s free from potential hazards like loose rocks, dead branches, or areas prone to flooding. Ideally, it should be near resources such as water and firewood but not so close that it becomes a hazard or attracts wildlife.
Step 2: Gather Your Materials
Scour the area for materials:
- Main Support: Find a long, sturdy branch to act as your shelter’s backbone.
- Ribs: Collect smaller branches to form the sides of your shelter.
- Insulation: Amass leaves, grass, and other debris for insulation and waterproofing.
Step 3: Set Up the Main Support
Position your main support branch. If you have trees close by, lean it against them. Otherwise, create a support structure using two Y-shaped branches stuck into the ground.
Step 4: Add the Ribs
Arrange the smaller branches along the length of the main support. They should be close enough to provide support but not so close that they significantly reduce the internal space.
Step 5: Insulate
Start piling your insulating materials (leaves, grass, etc.) onto the structure. Begin from the bottom and layer upwards like roof shingles. This method ensures better water runoff and adds to the shelter’s structural integrity.
Step 6: Add More Support (Optional)
If resources allow, reinforce your shelter with additional branches over the debris layer. This step helps in keeping the insulating materials in place, especially in windy conditions.
Step 7: Create a Bed
Inside your shelter, create a bedding area with soft materials like dried grass or leaves. This not only provides comfort but also adds an extra layer of insulation from the cold ground.
Additional Tips:
- Be Patient: Good shelter building takes time. Ensure each step is well-executed before moving on.
- Adapt: Use available materials creatively. If branches are scarce, use larger leaves or bark.
- Right Size: Your shelter should be just big enough for you to lie down comfortably. A larger shelter is harder to keep warm.
Building a wilderness shelter requires patience, resourcefulness, and some hard work. By following these steps, you’re well on your way to creating a functional refuge in the wild.
Top 10 Frequently Asked Questions
Conclusion
In my personal experience, building and waterproofing a wilderness shelter is not just about survival skills, but also about connecting with nature in its rawest form. The process teaches patience, resourcefulness, and a deep appreciation for the natural elements that can both challenge and protect us. Every time I construct a shelter, it reinforces a profound respect for the wilderness and the timeless wisdom it imparts in those willing to learn.

Leave A Comment