How to Build a Lean-to in Under 30 Minutes: Quick Setup Shelters
Whether you’re hiking, camping, or in a survival situation, building a lean-to shelter swiftly can provide necessary protection from the elements. In this guide, “Quick Setup Shelters: How to Build a Lean-to in Under 30 Minutes,” we’ll walk you through the essential steps to construct a sturdy and efficient lean-to using minimal tools and resources. You’ll learn how to choose the perfect location, gather materials, and assemble your shelter, ensuring you’re well-prepared for your outdoor adventures.
Table of Contents
- Preparation and Planning
- Building the Lean-to Shelter
- Top 10 Frequently Asked Questions
- Final Thoughts
Preparation and Planning
When venturing into the wilderness, being prepared to create quick and reliable shelter can be a lifesaver. In this guide, we will walk you through how to build a lean-to shelter in under 30 minutes, focusing on selecting the right location and gathering essential materials and tools.
Choosing the Right Location
Location is crucial when setting up any shelter, especially a lean-to which needs to be erected quickly. Look for a spot that offers safety from environmental hazards such as flooding or falling branches, and consider the following:
- Wind Direction: Your lean-to should face away from prevailing winds for maximum protection.
- Terrain and Grade: Flat ground is ideal. Avoid sloped areas that could cause water runoff into your shelter.
- Drainage: Higher ground is preferable, especially in rainy conditions.
- Safety: Beware of potential dangers like dead trees or unstable ground.
Gathering Materials and Tools
The beauty of a lean-to is its simplicity; you can build one with minimal tools and materials. Here’s what you’ll need:
- Wooden Poles and Sticks: These form the frame and cover of your shelter. You can find suitable poles and sticks on the forest floor, or use tools to cut dead-standing trees.
- Tools: While not strictly necessary, tools like a saw, axe, and paracord can be extremely helpful. They allow for more precise construction and provide added stability to your shelter.
- Natural Insulation: In the absence of a tarp, use natural debris like leaves, moss, and grass for insulation.
- For more details on using natural materials effectively, check out this resource: Natural Materials to Build a Shelter.
Remember, the key to a successful lean-to is planning and efficiency. With the right location and materials, you can set up a shelter that provides safety and comfort in a short amount of time.
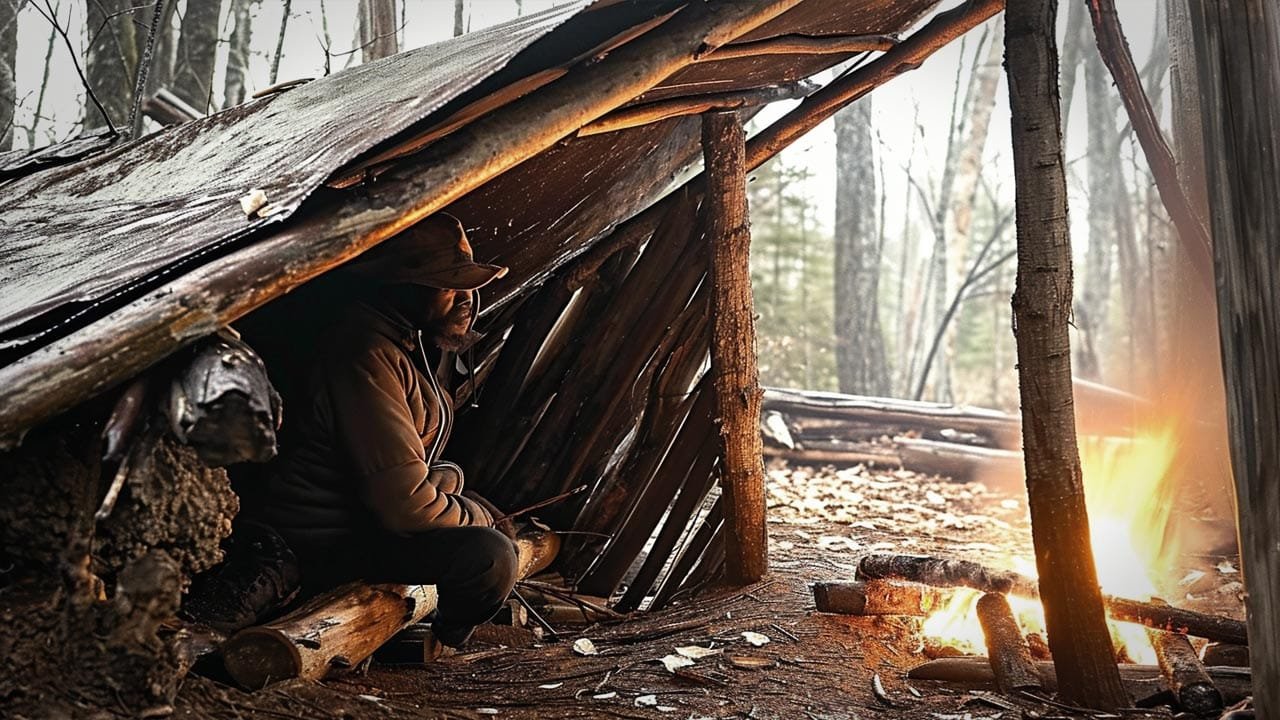
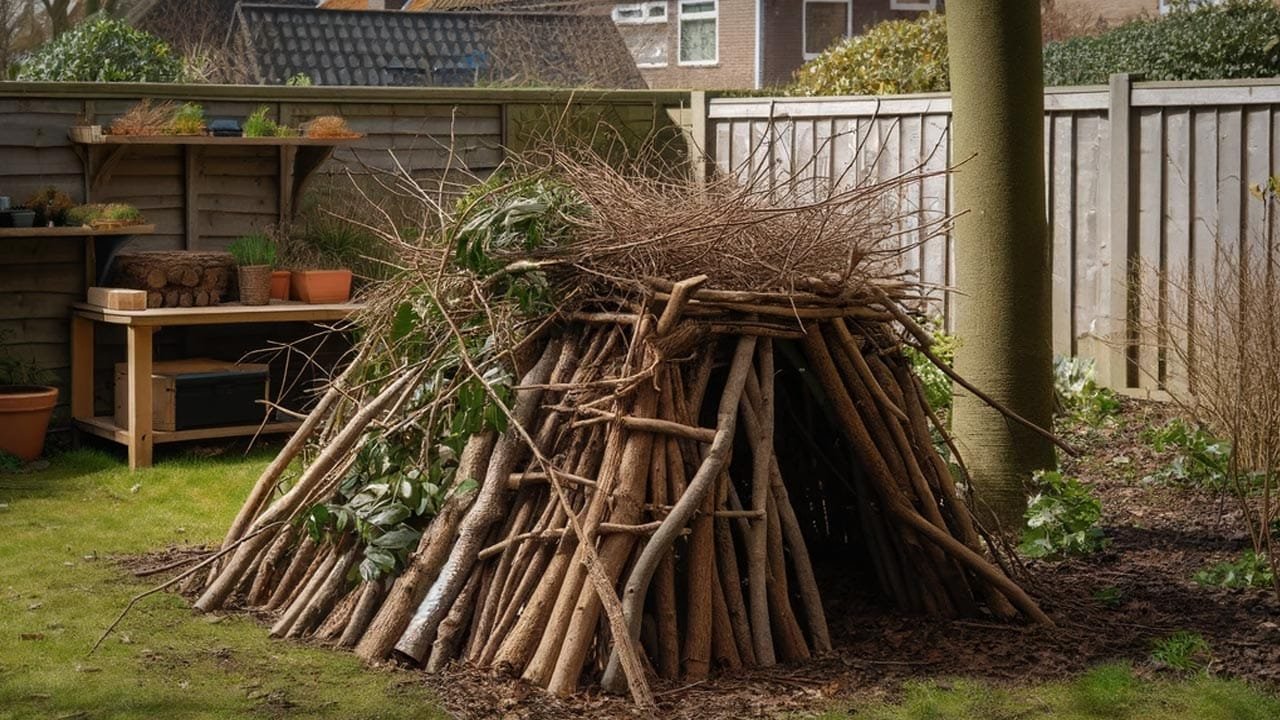
Building the Lean-to Shelter
Constructing a lean-to shelter efficiently requires following a systematic process. Here, we will break down each step to ensure you can build your shelter within 30 minutes.
Establishing the Foundation
The foundation of your lean-to is critical for its stability and effectiveness:
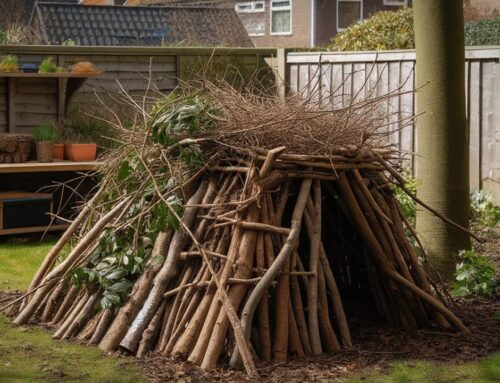
- Main Support: Use a fallen tree or large branch as your main support. Secure it between two standing trees or create a Y-shaped support at one end.
- Positioning Uprights: If there are no natural uprights, use logs to create your own. The distance between these should be around 6 to 8 feet, depending on your height and sleeping preference.
Constructing the Structure
Now, let’s build the main structure of the lean-to:
- Setting Up the Ridgepole: The ridgepole supports the entire structure. It should be longer than the distance between the uprights and positioned at a height of 4 to 6 feet.
- Spars and Ribbing: Arrange poles (spars) along the ridgepole. These will shape your shelter and support the roofing material. Add ribbing for extra strength, ensuring it’s not too high to avoid water runoff.
Finalizing the Shelter
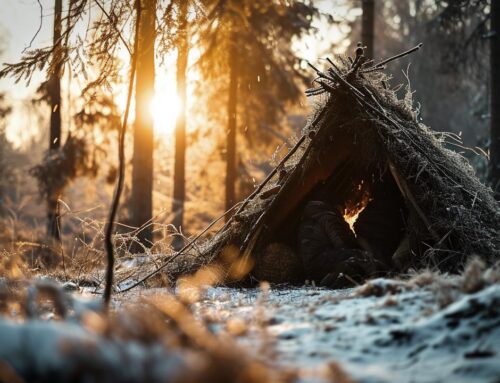
Finally, let’s cover and insulate your shelter:
- Roofing: If you have a tarp, use it over the ribbing. Otherwise, gather leaves, moss, or any available natural insulation. Cover the structure thoroughly, checking for gaps.
- Wind Breaker: Enhance the shelter’s reliability by adding a windbreaker or wall using additional poles packed closely together.
- Setting Up Fire: A fire not only provides warmth but can also be used for signaling. Set it up a safe distance from the entrance, with a wall behind to reflect heat.
Remember, building a lean-to is about resourcefulness and adaptability. Use what you have at hand and adjust to your environment for the best outcome.
Top 10 Frequently Asked Questions
Final Thoughts
Whether you’re a seasoned outdoor enthusiast or a beginner, mastering this skill can greatly enhance your confidence and safety in the wilderness. Remember, the key to a successful lean-to is in the details: choosing the right location, using available materials wisely, and constructing the shelter with care. We hope this guide empowers you to tackle your next outdoor adventure with a bit more ease and preparedness.

Leave A Comment